Outdoor Terrarium for a Chameleon
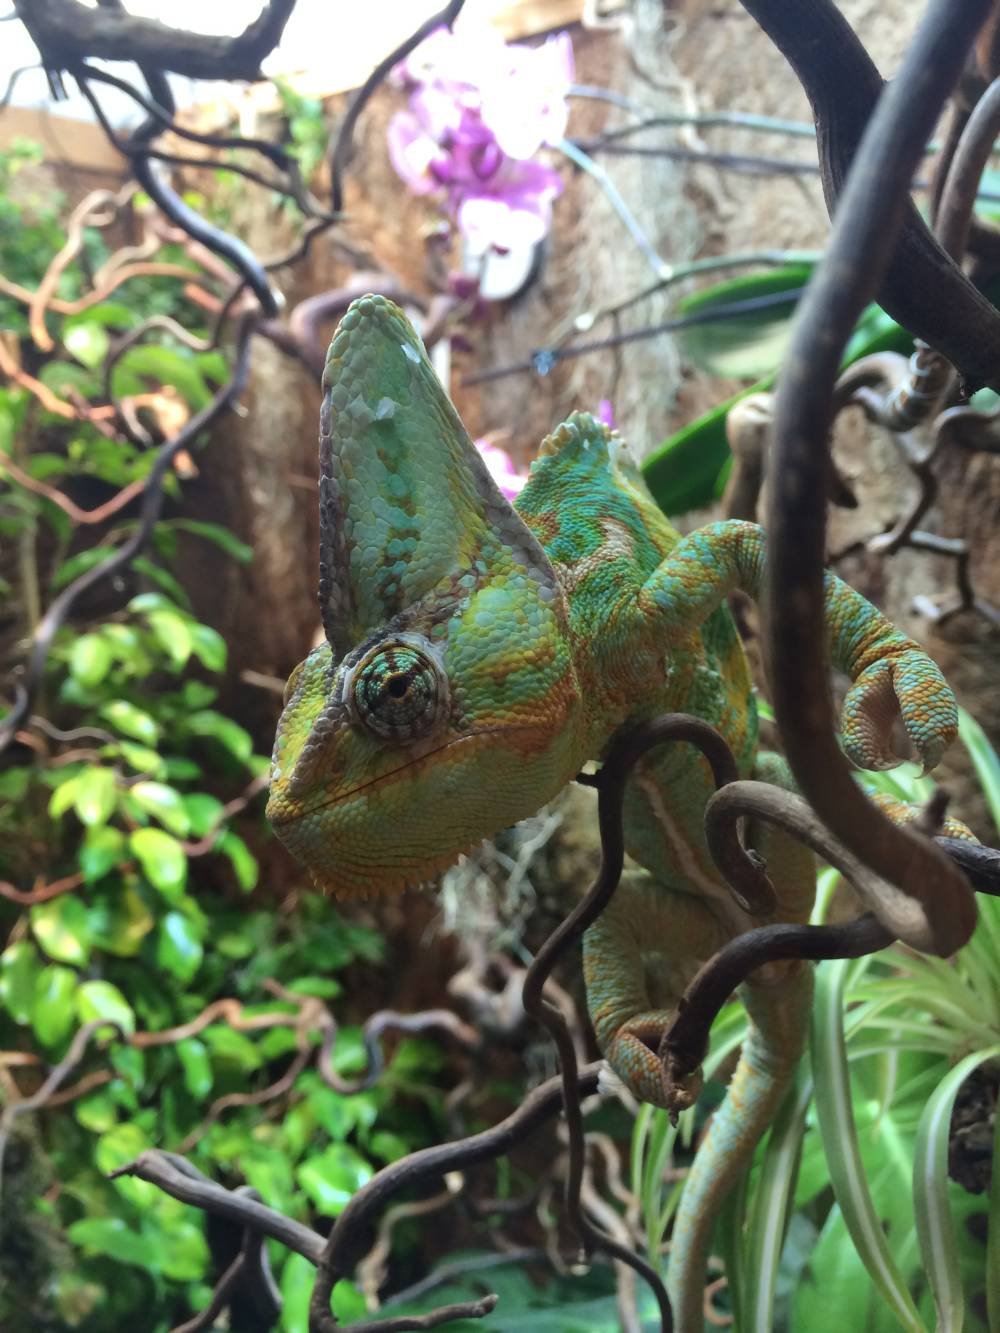
Hi there folks, in a previous post I have built of a rainforest-style indoor terrarium for my chameleon. I have the impression that the animal has accustomed to it perfectly – at least judging by its vivid colors and natural behavior. The nice and sunny days being back, I’d now like to offer little Pedro some direct sun exposure. Hence was born the idea for the next project: an outdoor terrarium for my veiled chameleon!
Those are the tools I used:
A cordless power drill (to pre-drill holes) and an impact driver (to drill the screws), having both will save you a lot of time swapping bits
A jig saw to cut the timber to length, any saw will do really
A small track saw to cut grooves in the timber
In terms of materials you’ll need the following:
Surfaced 2x2 dimensional pine lumber for the frame structure
Galvanized chicken wire, 1inch mesh
Lots of metal angle brackets and flat metal braces to connect the frame elements
Water dripper to provide a constant source to hydrate
2 door hinges (stainless steel)
Door latch (stainless steel) and a padlock to securely lock the cage
Exterior wood varnish (polyurethane)
Design considerations:
The size shall be around 1,60 m (length) x 0,80 m (width) x 1,90 m (height) to provide sufficient climbing space. For the outer structure, I am building a wooden frame with surfaced (not the rough-sawn stuff to avoid any injuries) 2x2 pine lumber, using simple butt joints glued together and reinforced with metal brackets and braces. I reckon you could skip the metal brackets and use lap joints, but I am lazy and don’t have a table saw or a router table (yet!).
For all frames, a steel chicken fence with mesh openings of 1,3 cm (1/2 inch) is used to allow insects to enter but prevent the reptile from escaping and scaring the neighbors. Half of the roof frame shall be covered with a PVC sheet to provide a partial protection against rain. When buying the metal parts, make sure to get either galvanized or stainless steel products to prevent corrosion.
Also, the cage shall be easy to disassemble to be able to store it out of the way in the garage during winter time. To achieve this, the wooden frame which makes up the cage structure is really just composed of several smaller frames – each the exact same size – which are then connected by metal braces. See also the sketch for a better overview.
Sketch:

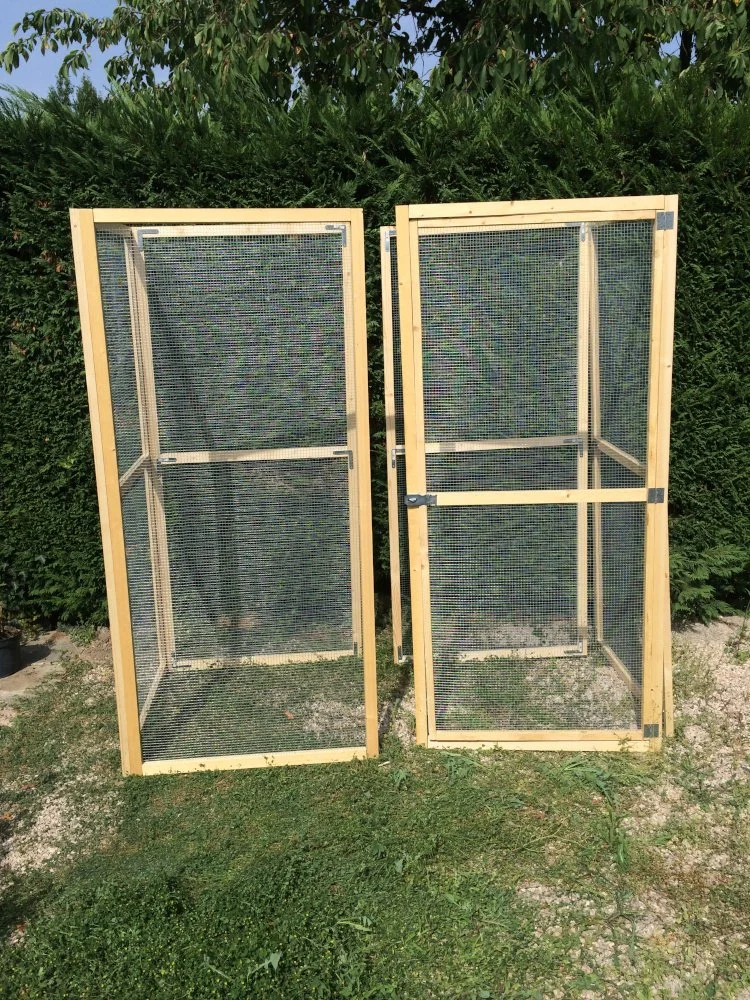
Step 1 : Cutting the timber & mesh and insert grooves
As you can see on the sketch, the cage structure is made up of 6 separate frame elements – 2 on the front and back face and 1 for each side - which are all the exact same size (190cm x 80cm). The cage’s bottom and top are also covered with frames measuring 160cm x 80cm. First I cut all the timber to length with the jig saw. The mesh obviously needs to be cut to size as well to fit each frame, unavoidably leaving behind some potentially dangerously sharp metal wires. Installing the mesh on the inside of the terrarium is therefore not an option. Stapling it on the outside would look a bit ugly, so I figured to cut a groove in the middle of the interior faces of the pine frame in which then to „slide in“ the chicken fence. I reckon the easiest way to cut the grooves would be on a table saw but since I only have a tiny track saw, that will have to do.


Step 2 : Slide the fence in the grooves
Sliding the fence in the grooves was a pain in the neck, but eventually worked out fine as soon as I had figured out the correct groove depth (half the pine thickness) and width (ever so slightly wider than the mesh thickness). I was really happy with the result because all end wires are nicely concealed within the grooves. I added some staples in the frame to prevent the mesh from sliding out again.


Step 3 : Build the door
The frame with the door – located at the front face on the right-hand side - is basically just a regular outer frame with another smaller frame installed within. This smaller frame is the actual moving door, I reinforced the frame with a horizontal stretcher in the middle to provide some extra stiffness. The door is attached to the outer frame with door hinges and can be closed with a door latch which can then be securely locked with a padlock.
Step 4 : Assembling the frames & Decorate
Before assembling all individual frames, I applied 3 coats of transparent varnish to protect the wood from the elements. Assembly was the fun part, just a few screws and braces to fix each frame to the other, making sure everything is nice and square and voilà! I then put in some plants, took a few days to test the temperature levels within the new cage to make sure everything was set and then let the fella enjoy a fresh breeze, which I am sure he enjoyed heaps!