Making a Handrail from a Tree Branch
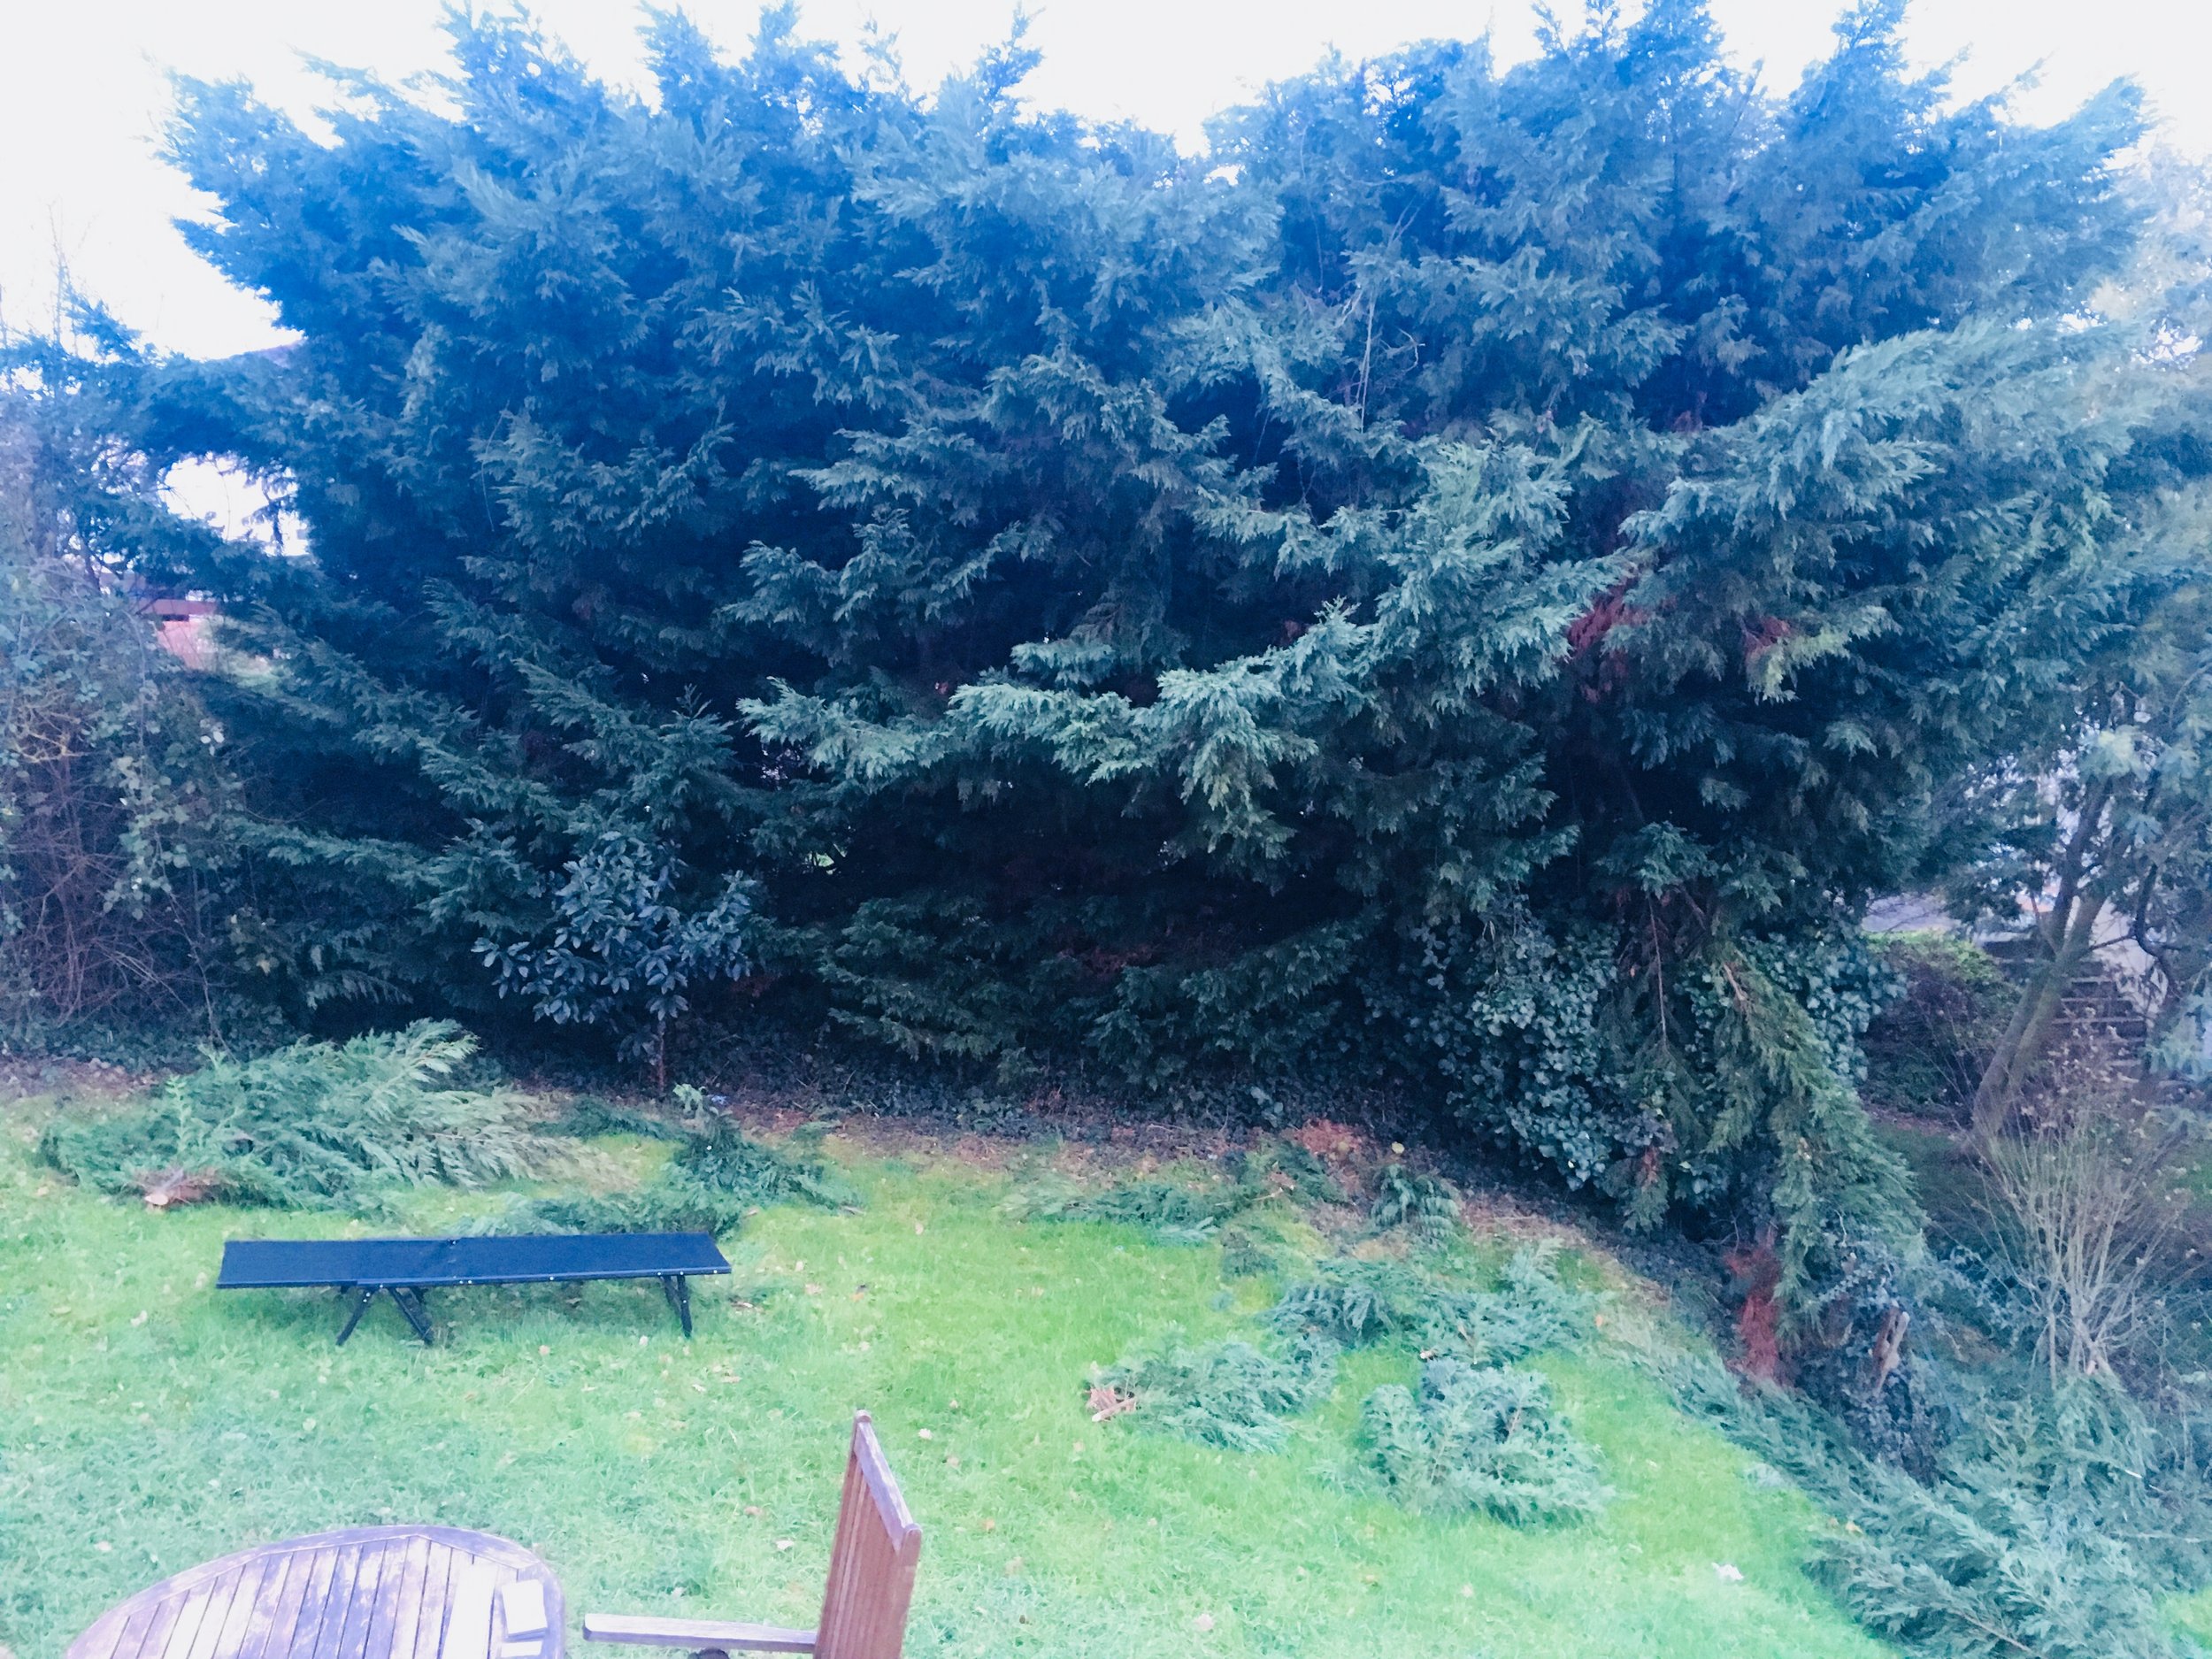
It’s been a while now my neighbor has been annoying me with these huge thuja trees planted right on the vicinity to my property, with some of the branches reaching a couple of meters inside my garden. I initially asked him politely to cut back some of the branches but he decided instead to just cut the whole thing down. It turns out thuja wood is particularly resistant to decay so I recovered a long branch and decided to make a handrail out of it.
Here’s what you will need:
A tree branch
Some rail brackets
Hand saw to cut off branches
Drawknife to strip off the bark
Random orbital sander with 80, 120, & 180 grit paper
Wood oil (Danish oil)
Step 1: Remove the bark
First you’ll want to cut off any small branches with your hand saw and then use the drawknife to peel off the bark. This works particularly well for “green” wood from a recently cut tree, when the moisture content within the wood is still high.
Step 2 : Dry the wood
To avoid any issues with wood shrinking after installation, it is always a good idea to let it sit and dry for a couple of months. Mine sat in the garage for over a year now so I reckon the time is right.
Step 3: Sanding & finishing
In order to get a smooth finish, I then sanded the whole thing down with my orbital sander, working my way up from 80 to 180 grit sandpaper. Due to the round shape of the wood, a sanding pad comes in handy. While you can easily get the job done with this setup, I decided to speed up the sanding process a bit by using a sanding wheel on my grinder. For the finish, I applied a single coat of Danish oil with a cloth, making sure to wipe off any excess oil with a clean cloth after half an hour to avoid the surface from becoming too sticky.
Step 4: Mount to the wall
You’ll then have to securely attach your rail brackets to the wall and mount the branch on top. Since I have a rather wonky shape, the exact bracket location took some trial and error to figure out. Also, I do have a drywall and figured that a simple anchor might not provide the needed stability, I cannot simply attach the brackets to the studs either due to the irregular bracket spacing. I therefore cut out some drywall and inserted some plywood behind the drywall to provide some added stability for the screws. Et voilà!


